How to make Baked chicken tenders that stay juicy in the oven.
Make Every Bite Count: Unlock the Secret to Juicy Oven-Baked Chicken Tenders
You know the feeling—pulling a tray of chicken tenders from the oven, the smell promising flavor, only to find them dry and tasteless inside. It’s disappointing, especially when you put in the time hoping for a healthy, home-cooked meal that still feels indulgent. If you’ve ever wondered how to bake chicken tenders in oven so they stay juicy, you’re not alone. The good news? You’re just a few steps away from mastering this kitchen essential.
This guide is your go-to roadmap. Whether you’re meal prepping, cooking for picky eaters, or trying to skip the fryer without sacrificing flavor, we’ll walk you through everything—from essential prep to post-bake tips—so your chicken turns out juicy, tender, and full of flavor every single time.
Table of Contents
Why Baking Chicken Tenders Is Worth the Effort
Baked Tenders Are Healthier — And Just as Delicious
When you’re trying to eat clean or reduce calories, fried food often takes a back seat. But what if you could still enjoy that golden crisp without all the oil? Baking chicken tenders is not only healthier—it’s more convenient, less messy, and budget-friendly.
- Lower fat content: No need to deep-fry or drench in oil.
- Simple ingredients: Most recipes call for pantry staples.
- Family-friendly: Kids love them, and you’ll love the quick prep.
- Great for meal prep: Cook once, eat all week.
Avoid These Mistakes That Make Chicken Dry
So why do your tenders sometimes come out tough or dry?
- Overbaking is a top culprit. Even just 3–5 minutes too long can ruin texture.
- Not using enough moisture like oil or marinade.
- Skipping rest time after baking, which causes juices to escape.
Let’s break these down further and show you how to overcome them.
Ingredients: What You Need for Perfectly Juicy Tenders
Before anything else, gather your ingredients. These basic components will help build flavor and retain moisture, without making things complicated.
| Ingredient | Amount | Purpose |
|---|---|---|
| Chicken tenders | 1 lb (about 8 pieces) | Your base protein |
| Olive oil | 2 tbsp | Adds moisture and flavor |
| Garlic powder | 1 tsp | Deepens taste |
| Paprika | 1 tsp | Adds mild heat and color |
| Salt | 1/2 tsp | Enhances overall flavor |
| Black pepper | 1/4 tsp | Balances seasoning |
| Breadcrumbs (optional) | 1/2 cup | For added crispiness |
| Egg (optional) | 1 | Helps breading stick |
| Lemon juice (optional) | 1 tbsp | Brightens flavor |
| Buttermilk (optional) | 1 cup (for marinade) | Tenderizes meat |
💡 Pro Tip: Marinate chicken tenders in buttermilk or yogurt for 30 minutes before baking to boost tenderness.
Step-by-Step Guide: How to Bake Chicken Tenders in Oven So They Stay Juicy
Here’s where the magic happens. Follow these steps carefully and you’ll never deal with dry tenders again.
1. Preheat and Prep Your Oven
Set your oven to 400°F (204°C). This temperature is ideal—it’s hot enough to create a crisp exterior but gentle enough to keep the inside moist.
- Line a baking sheet with parchment paper or foil.
- Lightly grease the surface or spray with cooking oil to prevent sticking.
2. Pat Dry the Chicken
Before seasoning or marinating, remove any moisture by patting the tenders with paper towels. Wet chicken won’t absorb seasoning properly and may steam instead of roast in the oven.
3. Season Generously or Marinate
You can either:
- Toss chicken tenders in olive oil, garlic powder, paprika, salt, and pepper directly.
- Or soak them in buttermilk for 30–60 minutes for a tender, flavorful finish.
Want an extra burst? Add lemon juice, Dijon mustard, or herbs to the marinade.
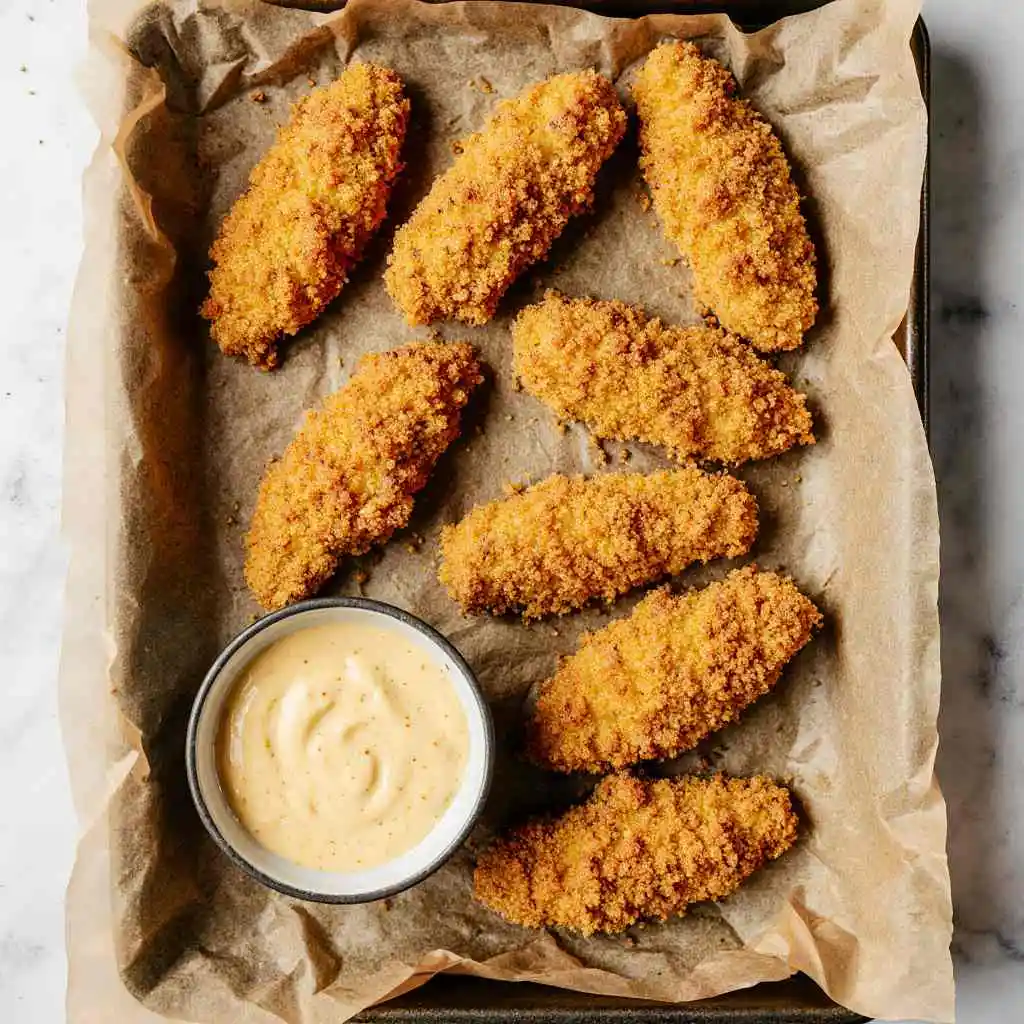
4. Optional Step: Bread Your Tenders
If you like a little crunch:
- Whisk an egg in a bowl.
- Dip each tender in the egg, then coat with breadcrumbs or panko.
- For spice lovers, mix paprika or cayenne into your breadcrumb mix.
Skip the breading if you’re going low-carb or keto.
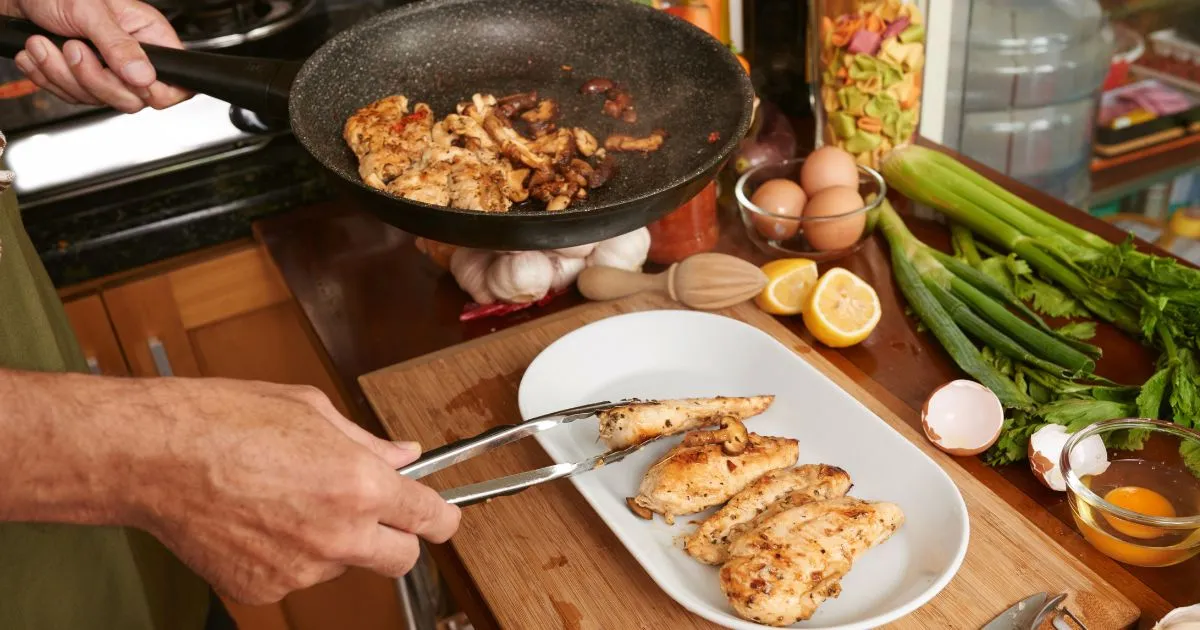
5. Arrange and Bake
Place tenders evenly spaced on your baking sheet. Crowding them will create steam and prevent browning.
- Bake for 15–20 minutes, flipping halfway through for even color.
- Use a meat thermometer to check: internal temp should hit 165°F (74°C).
🧠 Smart tip: Chicken tenders are small and cook quickly. Start checking at the 14-minute mark to avoid overcooking.
6. Let Them Rest
Once you remove the chicken from the oven, let it rest for 5 minutes before slicing or serving. This small step makes a massive difference. Juices redistribute during this time, locking in flavor and tenderness.
Expert Tips for Maximum Juiciness
Even if you follow the steps, these little pro tips can take your tenders to the next level:
- Use a thermometer: Always more accurate than guesswork.
- Try a brine: A simple saltwater soak can help preserve moisture.
- Rest on a wire rack: Prevents sogginess by allowing airflow.
- Brush with melted butter right after baking for added richness.
Delicious Flavor Variations to Try
Don’t settle for just one style. Here are some crowd-pleasing flavor combos you can easily switch up:
Lemon-Herb Chicken Tenders
- Add lemon zest, thyme, rosemary, and a touch of olive oil before baking.
Buffalo Style Baked Tenders
- Toss baked tenders in buffalo sauce and serve with ranch or blue cheese.
Honey Garlic Glazed
- Mix 1 tbsp honey with 1 tsp soy sauce and 1 minced garlic clove. Brush over tenders in the last 5 minutes of baking.
Serving Suggestions: What Goes Best with Chicken Tenders?
Chicken tenders are versatile. Serve them in a bowl, wrap, or on a plate—they never disappoint.
Great Sides To Serve With Tenders
- Roasted sweet potatoes
- Garlic mashed potatoes
- Quinoa or brown rice
- Fresh garden salad
- Steamed broccoli or green beans
Meal Prep Ideas
- Pair tenders with roasted vegetables and brown rice for lunch boxes.
- Add to wraps with hummus and greens for on-the-go meals.
Storage & Reheating Tips: Keep Them Juicy Even After Day One
You made the perfect tenders—don’t ruin them in the fridge.
To Store:
- Place in an airtight container.
- Refrigerate for up to 4 days.
To Freeze:
- Freeze in a single layer on a tray first, then transfer to a ziplock bag.
- Use within 2 months for best taste.
To Reheat:
- Oven: Best method. 350°F for 8–10 minutes.
- Air fryer: Restores crispiness without drying.
- Microwave: Only if necessary, and wrap in a damp towel to avoid dryness.
Frequently Asked Questions (FAQ)
How do you keep chicken tenders moist when baking in the oven?
You need to lock in moisture with either a marinade, proper oil coating, and careful baking time. Don’t skip resting the tenders after cooking—it helps retain juices.
What temperature should I bake chicken tenders at?
Always aim for 400°F (204°C). It balances quick cooking with moisture retention.
Should I cover chicken tenders while baking?
No. Covering traps steam and leads to soggy texture. Leave them uncovered for a golden, crisp result.
Can I bake frozen chicken tenders without thawing?
You can, but it’s not ideal for juiciness. Always thaw and pat dry before baking for best results.
How do I know if chicken tenders are done?
Use a thermometer to check the internal temperature. It should read 165°F (74°C) at the thickest point.
Conclusion: Your Secret to Juicy Oven-Baked Chicken Tenders Is Now Unlocked
The struggle with dry, flavorless baked chicken ends here. Now you know how to bake chicken tenders in oven so they stay juicy, and it’s all about preparation, timing, and a little post-bake patience. With this guide, you’ll not only impress your taste buds but anyone lucky enough to eat your cooking.
💬 Ready to Try It Out?
We’d love to hear how your chicken turned out! Drop your favorite variation in the comments or share this guide with a friend who still thinks baked equals bland. You’ve got the tools—now go turn your oven into a chicken-tender powerhouse.