Perfectly Crispy Baked Chicken Legs in Oven: The Ultimate Guide to Juicy, Golden Perfection
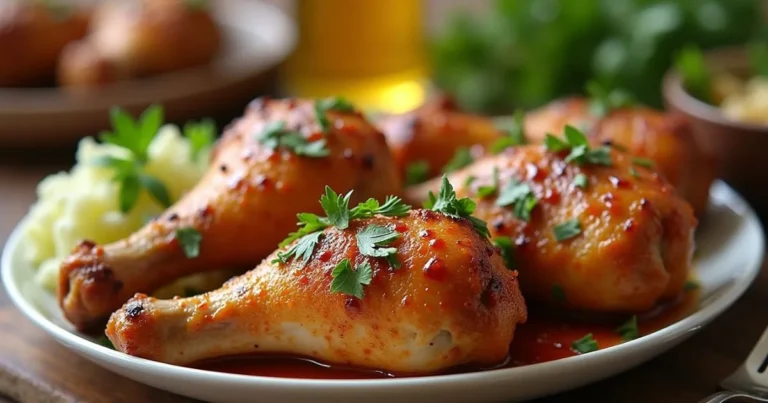
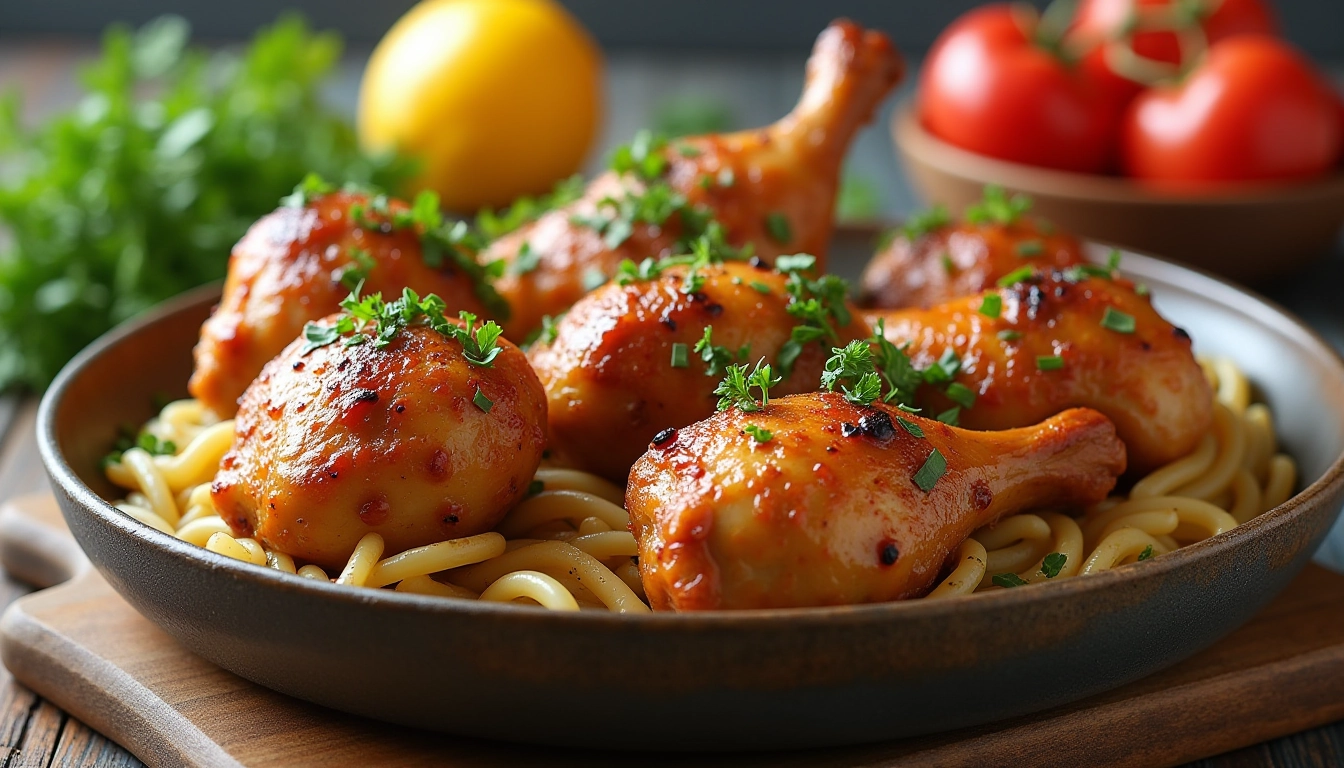
Picture this: You walk through your front door after a long day, and the unmistakable scent of roasted chicken wraps around you like a warm embrace. That golden, crackling skin. The promise of tender meat falling off the bone. Your stomach rumbles in anticipation.
This doesn’t have to be just a fantasy or something reserved for Sunday dinners at your grandmother’s house. You can create this magic on any Tuesday night with nothing more than your oven, a few drumsticks, and the techniques you’re about to discover.
Learning to make exceptional baked chicken legs in oven transforms more than just your dinner routine. It hands you a reliable recipe that feeds your family without draining your wallet or demanding hours of your time. Whether you’re navigating the chaos of weeknight meals with picky eaters or meal prepping for the week ahead, these drumsticks deliver every single time.
Table of Contents
Why Baked Chicken Legs in Oven Deserve a Spot in Your Weekly Rotation
Your grocery budget stretches further with chicken drumsticks. While boneless breasts hover around $4-6 per pound, you’ll find legs for nearly half that price. This isn’t about compromising quality for cost—dark meat actually brings more flavor and stays juicier during cooking than its white meat counterpart.
The nutritional profile might surprise you too. Each drumstick packs roughly 24 grams of protein alongside essential minerals like iron and zinc. Yes, dark meat contains slightly more fat, but we’re talking about the difference between 9 and 3 grams per serving—hardly a dealbreaker when the taste and satisfaction multiply tenfold.
Time becomes your ally with this method. Ten minutes of hands-on prep, then your oven handles the rest while you help with homework, answer emails, or simply put your feet up. No constant stirring, no watching carefully to prevent burning, no elaborate techniques required.
What You’ll Need for Perfect Baked Chicken Legs in Oven
The Essential Ingredients
| Ingredient | Quantity (for 8 drumsticks) | Why It Matters |
|---|---|---|
| Chicken drumsticks | 8 pieces (2-2.5 lbs) | Foundation of your meal |
| Olive oil | 2 tablespoons | Creates golden, crispy exterior |
| Salt | 1.5 teaspoons | Enhances natural flavors |
| Black pepper | 1 teaspoon | Adds subtle heat |
| Garlic powder | 1 teaspoon | Brings aromatic depth |
| Paprika | 1 teaspoon | Delivers color and mild spice |
| Onion powder | 1/2 teaspoon | Rounds out the flavor profile |
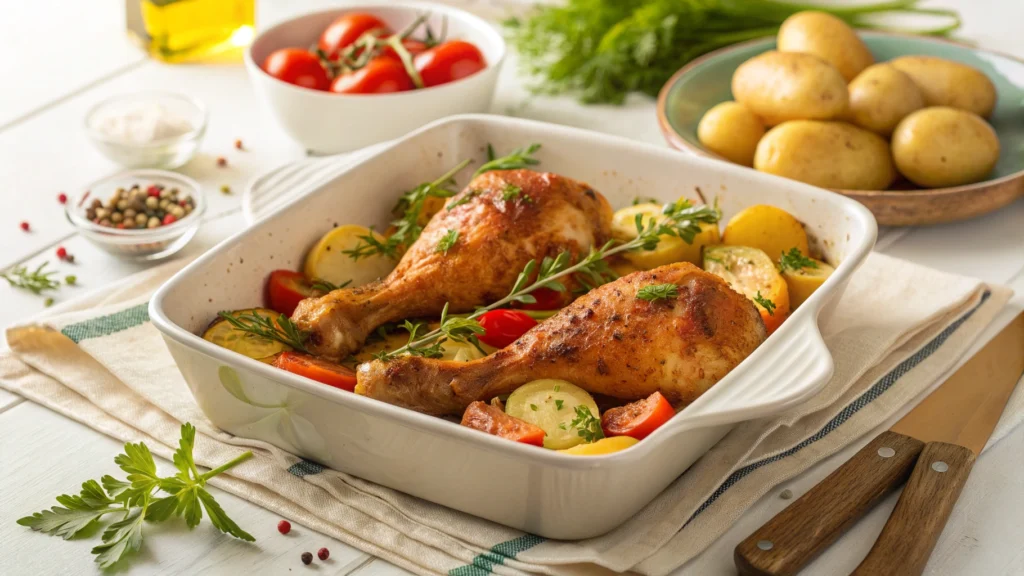
This basic combination creates drumsticks that disappear from the plate, but don’t hesitate to customize. Fresh rosemary, thyme, or a squeeze of lemon juice elevates the taste without complicating your process. A touch of honey or brown sugar in your rub creates beautiful caramelization during the final minutes.
Equipment That Makes the Difference
You don’t need specialty tools, but a few key items improve your results dramatically. A baking sheet with raised edges prevents any rendered fat from dripping into your oven. A wire rack isn’t mandatory, yet it allows heat to circulate completely around each drumstick, practically guaranteeing crispy skin on all sides.
Your most valuable tool? A reliable meat thermometer. Guessing when chicken reaches safe temperatures leads to either undercooked meat or dried-out disappointment. Invest $15 in an instant-read thermometer, and you’ll never second-guess doneness again.
Your Step-by-Step Guide to Baked Chicken Legs in Oven
Getting Started: The Preparation Phase
Dry those drumsticks thoroughly. This step separates soggy skin from the crackling, golden exterior you’re craving. Grab paper towels and pat every surface until no moisture remains. Sounds tedious? Consider it your insurance policy for crispiness.
Season with abandon. Room temperature chicken absorbs flavors better than cold drumsticks straight from the fridge, so let them sit out for 20-30 minutes before seasoning. Mix your spices in a small bowl, then massage the mixture into every crevice, working some under the skin if you’re feeling ambitious. Don’t be shy—chicken can handle generous seasoning.
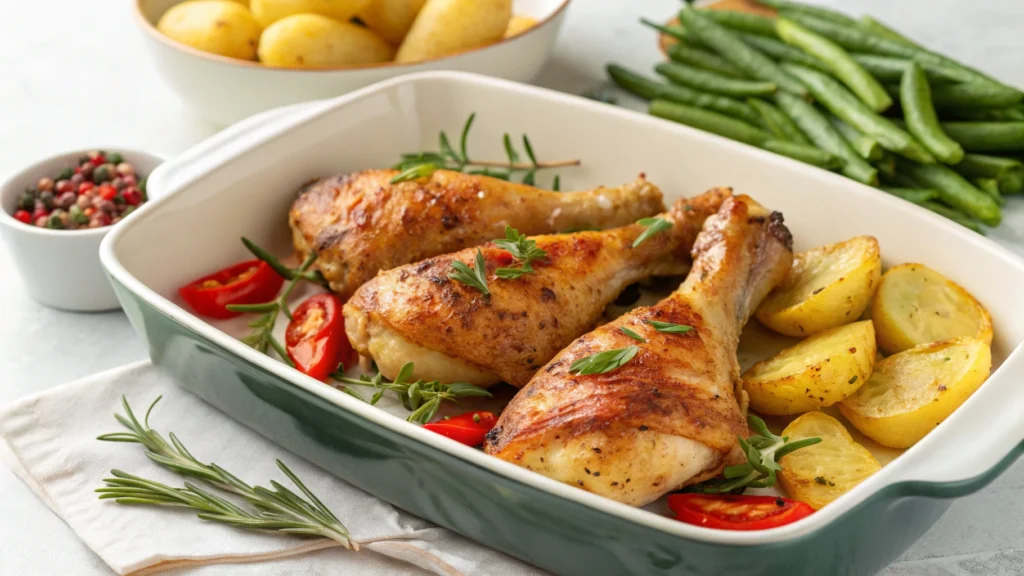
Prepare your baking setup. Line your sheet with aluminum foil for easier cleanup, then position your wire rack on top if you’re using one. Arrange drumsticks with about an inch of space between each piece. Crowding creates steam instead of the dry heat that produces crispy skin.
The Baking Process That Guarantees Success
Preheat your oven to 425°F. This temperature hits the sweet spot between cooking the meat through and achieving that coveted crispy exterior. Lower temperatures leave you with rubbery skin. Higher heat risks burning before the inside cooks properly.
Slide your prepared drumsticks into the oven and set your timer for 40 minutes. Medium-sized legs typically finish in 40-45 minutes, though smaller pieces might be ready at 35 minutes while larger ones push toward 50 minutes.
Here’s the truth about flipping: you don’t need to do it if you’re using a wire rack. The elevated position allows heat to circulate evenly. Without a rack, flipping halfway through promotes more uniform browning, though your skin won’t achieve quite the same all-over crispiness.
The Secret to Ultra-Crispy Skin
Professional chefs know a trick that home cooks often miss: baking powder. Not baking soda—that’s different and tastes terrible. Aluminum-free baking powder draws moisture from the skin while raising its pH level, creating conditions perfect for crisping. Mix half a teaspoon per pound of chicken into your spice rub, and prepare for audibly crunchy skin.
Another technique worth trying: the two-temperature approach. Bake at 425°F for the first 30-35 minutes, then switch your oven to broil for the final 2-3 minutes. Watch carefully during this phase—the line between perfectly crisped and burnt disappears quickly under the broiler.
How to Confirm Your Baked Chicken Legs in Oven Are Perfectly Done
Visual cues help, but they lie. That’s why your meat thermometer becomes your best friend. Insert it into the thickest part of the drumstick, angling to avoid the bone (which conducts heat differently than meat and throws off your reading). You’re looking for 165°F minimum.
Other signs that suggest doneness include juices running clear rather than pink when you pierce the meat, flesh pulling slightly away from the bone ends, and a deep golden-brown color across the skin. The drumstick should wiggle easily at the joint when you grab the end.
Once your thermometer confirms they’ve reached temperature, resist immediately serving them. Let those drumsticks rest on the pan for 5 minutes. This brief pause allows juices to redistribute throughout the meat instead of flooding onto your cutting board the moment you bite in.
Five Flavor Variations That Transform Your Chicken
Classic Herb and Garlic
| Ingredient | Amount |
|---|---|
| Fresh minced garlic | 4 cloves |
| Chopped fresh rosemary | 2 tablespoons |
| Fresh thyme leaves | 1 tablespoon |
| Lemon zest | From 1 lemon |
| Olive oil | 3 tablespoons |
Combine everything into a paste, rub it under and over the skin, then proceed with your standard baking method. The herbs perfume your kitchen while creating an elegant flavor that belies the minimal effort required.
Spicy BBQ Style
Start with your basic seasoning, but during the final 10 minutes of cooking, brush your favorite BBQ sauce over each drumstick. Return them to the oven, letting the sauce caramelize without burning. A minute under the broiler creates sticky, lacquered perfection.
Mediterranean Lemon Pepper
Replace paprika with extra black pepper, add dried oregano and a generous amount of lemon zest to your rub. Squeeze fresh lemon juice over the drumsticks during the last 5 minutes of cooking. Serve with tzatziki sauce for an experience that transports you straight to a Greek taverna.
Common Mistakes That Sabotage Your Results
Overcrowding your pan ranks as the most frequent error. Those drumsticks need personal space. Touching pieces create pockets of steam, turning what should be crispy skin into something disappointingly soft. Use two pans if necessary.
Skipping the thermometer check leads to guesswork you can’t afford. Chicken that looks done might still harbor bacteria in the center, while perfectly safe chicken might look underdone to the uncertain eye. Eliminate doubt with actual temperature readings.
Opening the oven door repeatedly drops the temperature by 25-50 degrees each time. Your chicken needs consistent heat. Use your oven light and window instead of peeking, checking only once around the halfway point.
Serving immediately wastes the final step of the cooking process. Those 5 minutes of resting make a measurable difference in juiciness. Cover loosely with foil if you’re worried about them cooling too much.
Storing and Reheating Your Drumsticks
Properly stored drumsticks last 3-4 days in your refrigerator, making them excellent candidates for meal prep. Let them cool completely—but within 2 hours of cooking—before transferring to an airtight container.
Best Methods for Reheating
| Method | Temperature | Time | Texture Outcome |
|---|---|---|---|
| Oven | 375°F | 15-20 minutes | Skin stays crispy |
| Air fryer | 350°F | 8-10 minutes | Exceptionally crispy |
| Microwave | High power | 2-3 minutes | Fastest but skin softens |
| Stovetop | Medium heat | 10 minutes | Moderately crispy |
The oven or air fryer revives that crackling skin texture better than any other method. Microwaving works when speed trumps texture, though you’ll sacrifice the crispy exterior that makes these drumsticks special.
Frequently Asked Questions About Baked Chicken Legs in Oven
How long should I cook baked chicken legs in oven at 425°F?
Plan for 40-45 minutes for medium-sized drumsticks, checking that your thermometer reads 165°F in the thickest section. Smaller pieces finish around 35-40 minutes, while larger ones might require 45-50 minutes. Your thermometer provides the definitive answer.
Do I need to flip chicken legs when baking in oven?
Flipping isn’t necessary with a wire rack since heat circulates around the entire drumstick. Without a rack, turning them once at the halfway point promotes more even browning, though your bottom side won’t achieve the same crispness as the top.
Should I cover chicken legs when baking in oven?
Never cover your drumsticks if crispy skin matters to you. Covering traps steam, which softens the exterior into something resembling boiled chicken skin—not the crunchy texture you’re pursuing. Bake uncovered from start to finish.
Can I bake frozen chicken legs in oven?
Technically possible but not recommended. Frozen drumsticks take 50% longer to cook and won’t develop the same golden, crispy skin. The exterior often dries out before the interior finishes cooking. Thaw them overnight in your refrigerator for superior results.
How do you make baked chicken legs in oven extra crispy?
Pat them bone-dry before seasoning. Add half a teaspoon of baking powder per pound to your spice rub. Use a wire rack for air circulation. Bake at 425°F rather than lower temperatures. These four factors combine to create restaurant-quality crispy skin.
What temperature should baked chicken legs in oven reach internally?
Food safety requires 165°F measured in the thickest part of the meat, avoiding the bone. This temperature eliminates harmful bacteria while keeping the meat juicy. Cooking beyond 175°F starts drying out your chicken unnecessarily.
Your Next Steps to Crispy, Juicy Perfection
You now hold the complete blueprint for creating baked chicken legs in oven that rival anything from a restaurant kitchen. The beauty of this technique lies in its forgiving nature—even if you deviate slightly from these instructions, you’ll still end up with delicious chicken.
Start with the basic recipe tonight. Master that foundation first—the proper temperature, the importance of dry skin, the critical role of your meat thermometer. Once these fundamentals become second nature, branch out into the flavor variations that intrigue you most.
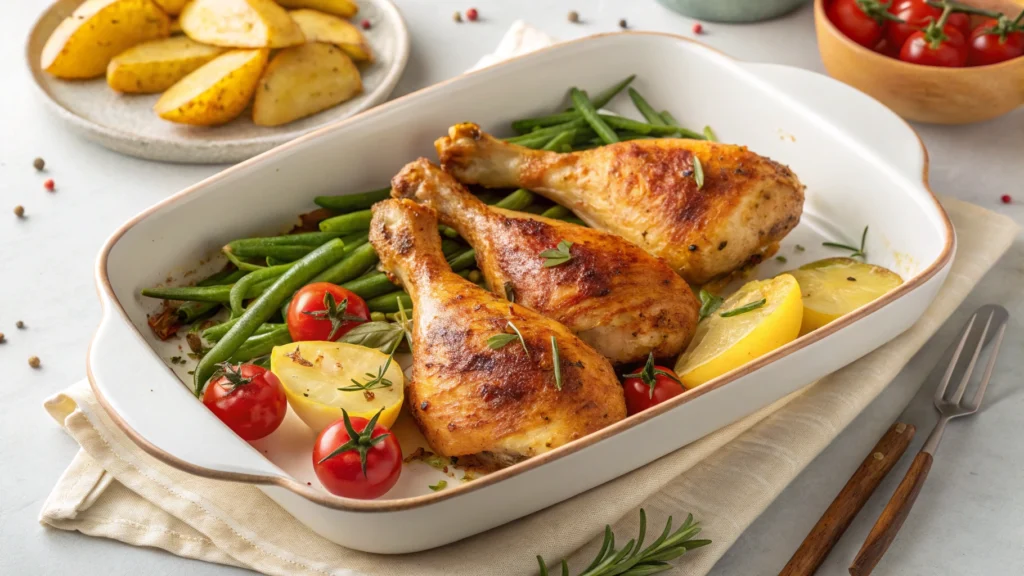
Your family deserves dinners that nourish without exhausting you. These drumsticks deliver exactly that—affordable, nutritious, satisfying meals that come together with minimal fuss. The crispy skin alone makes them feel special, like you’ve spent far more time and effort than the ten minutes of actual work required.
Preheat that oven to 425°F. Arrange those drumsticks on your baking sheet with confidence. Set your timer and walk away, knowing that in 40 minutes, you’ll pull out golden, crackling perfection.
Ready to revolutionize your weeknight dinners? Grab a package of drumsticks on your next grocery run and put this technique to the test tonight. Snap a photo of your crispy results and share your success—your friends deserve to know this secret too. And when your family asks what makes these drumsticks so incredible, just smile and tell them you’ve finally mastered the art of baked chicken legs in oven.
Did You Try Our Recipe ?
There are no reviews yet. Be the first one to write one.